Vundo Removal
Certain variants of the Vundo trojan are especially difficult to remove. Current DAT and Engine functionality does NOT yet provide an automatic method to fully remove this threat if it is active in memory. However, a combination of manual and DAT/Engine removal methods does allow for successful removal of this threat. You must have already downloaded and have ready on your desktop
Instructions
1. Windows XP Users Disable the System Restore Utility (see below)
*must be logged on as an Administrator
2. Right click the My Computer icon on the Desktop and click on Properties.
3. Click on the ‘System Restore’ tab.
4. Put a check mark next to 'Turn off System Restore on All Drives'.
5. Click the 'OK' button.
6. You will be prompted to restart the computer. Click ‘Yes’.
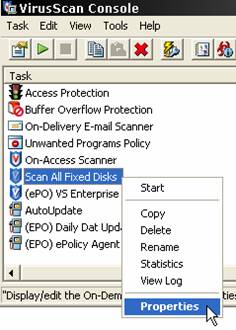
7. After reboot, Launch the VirusScan Console from the system tray near the clock,
open the ‘Scan All Fixed Disks’ icon,
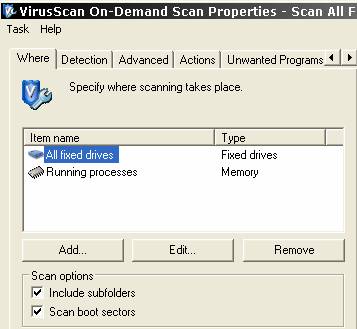
Set The ‘Where’ (initial screen tab) All fixed drives & Running Processes, Include subfolders & Scan boot sectors options
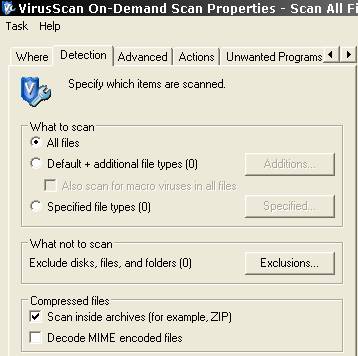
On the ‘Detection’ tab San All files, and Compressed files ‘Scan inside archive’
Jump to the ‘Actions’ tab Set all these options:
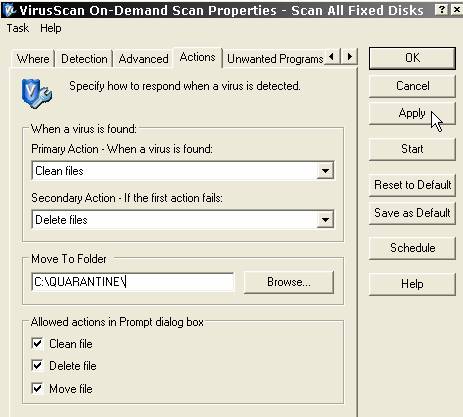
Actions tab : Primary - Clean, Secondary - Delete … Click ‘Apply’ but DO NOT hit ‘Start’ YET or initiate the scan, just leave the window up and open
8.
Run
'Process
Explorer'  locate
&
suspend
the
Explorer.exe, Winlogon.exe, and rundll32.exe
processes
by right-clicking on these process names and choose “suspend” )
locate
&
suspend
the
Explorer.exe, Winlogon.exe, and rundll32.exe
processes
by right-clicking on these process names and choose “suspend” )
9. Now Scan & clean with the current DAT files and engine (the Window launched in step 3 above) [there will be clean failures, that is expected]
10. Physically power the machine off and back on.(a hard reset is required as Windows will not shutdown without Winlogon.exe running, and enabling ‘Resume’ on that process will revert the changes made by the scanner).
These steps will removal all relevant registry entries and identified Vundo components.
Note: To re-enable the Restore Utility, follow steps one to five and on step three remove the check mark next to 'Turn off System Restore on All Drives'.